Wednesday, September 1, 2021

Our Homemade Homeschool Easel

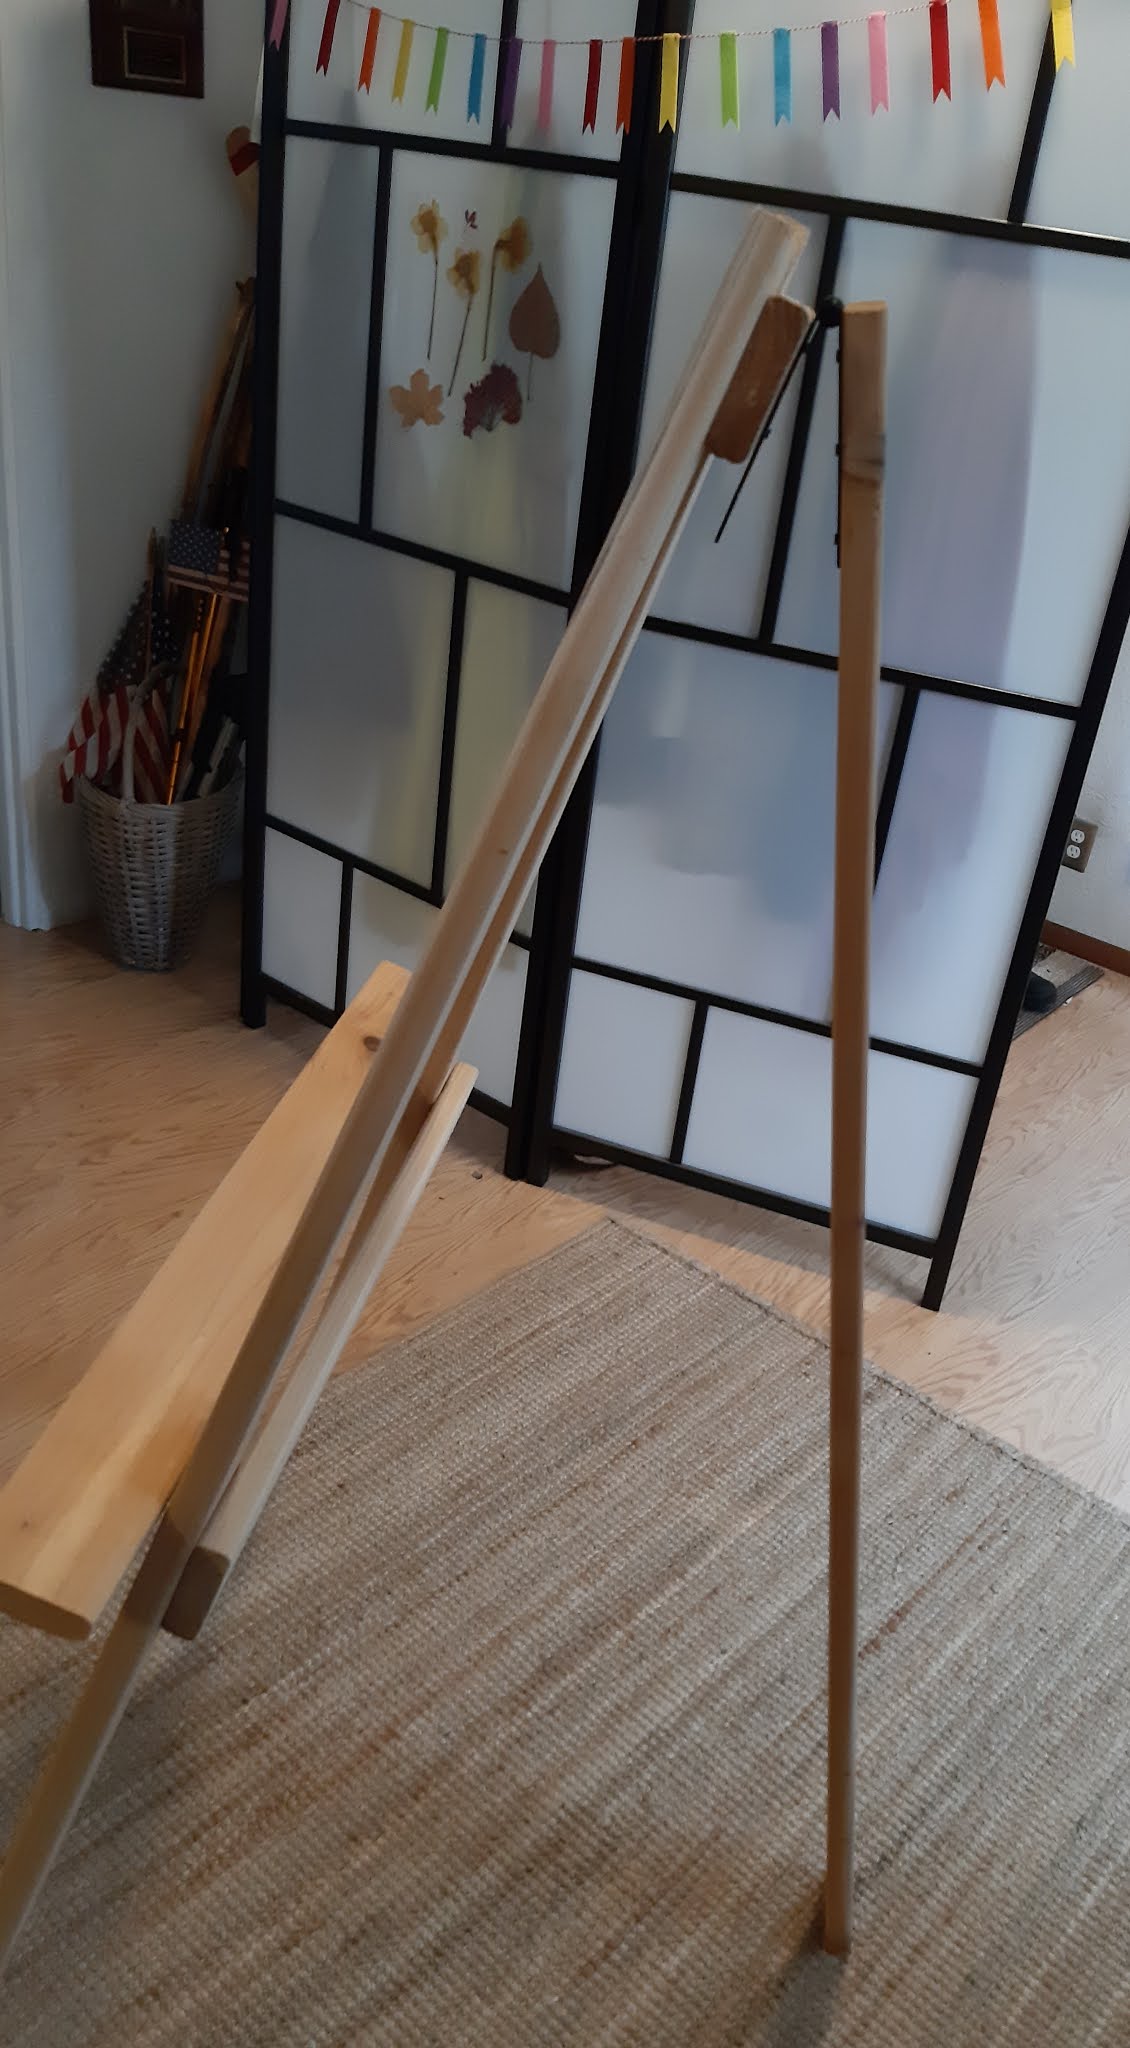
We are loving our new homeschool easel and the best part, it costs us under $50 to make. We couldn't find a decent easel online, or in stores, so we made our own. 

Jeff used pine boards for the entire thing and created the easel from a rough draft of mine. It is perfect for holding our dry erase board, our chalk board, and our posters/flip books for subjects. It also works out great for other things, as well, like painting, art, crafts, etc.

Here's how we made it:

2-63 inch boards (we used 2x4s) •THESE ARE THE SIDE LEGS

1-58 inch board •BACK LEG THAT HOLDS THE EASEL UP

1-26 inch board •ACROSS THE BOTTOM BEHIND THE LEGS TO HOLD THE SIDE LEGS TOGETHER

1-33 inch board •ACROSS THE FRONT SO YOU CAN ACTUALLY USE THE EASEL FOR PLACING THINGS ON THE EASEL FRONT

1-7 inch board •ACROSS THE TOP OF THE LEGS ON THE BACK SIDE TO HOLD THE EASEL TOGETHER AT THE TOP

1 large gate hinge

2-medium L-shaped brackets

We got out boards at Lowe's and they will cut your board to length. A lot of boards come a lot longer than you will need here, but you can get all of these cut from three boards. We used pine, but you can literally customize this and use any type of board you want.


Tuesday, August 31, 2021

Watercolor and Salt Art


A simple art project to do with any age group. Even though Skylar is in the eleventh grade this year, we don't exclude art and downtime from studies. This art project is a lot of fun and only takes four simple items: 
•Liquid glue
•Salt/sugar
•Paper
•Water Colors

Start first with card stock, or paper. Cardstock is better for holding up with the weight of the glue and the salt or sugar.
Draw a design in glue on the page and be as creative, or as detailed as you want. Let kids use their imagination in the best way they know how. Any drawing in glue will do, but be sure to leave enough space between the lines of your drawing. Larger images work better like the ones above, or a house, the sun, or even basic shapes and designs.

Once the glue is drawn sprinkle on your salt or sugar. Either one works for this project, but be sure to cover the entire area that's been glued. Allow the glue to dry with the sugar or salt on top. 24 hours should be enough time to dry completely.

Once dry, use the watercolors in different colors to drip a small drop onto the grains of the salt/sugar. It only takes a bit, so go slow and make sure you use a small drop at first and work your way up to more as you see the colors change and travel down the salt/sugar. 

Once finished, allow to dry 24 hours and hang up your masterpiece. 

Cardstock we like here.
Watercolors we like here.
Salt we like here.
Liquid Glue we like here.